
Custom Iron Casting: What You Need to Know Before Starting Your Project
2026-09-22
Most people assume custom iron casting starts with a drawing and ends with a finished part. In reality, the gap between those two points is full of decisions that quietly determine whether your project sails through or stalls at the pattern shop. From alloy selection and shrinkage allowances to surface finish and machining stock, the details you don't see on the print are often the ones that cost you time and money. Zhaoyuqi has seen it all, and this guide is built to give you the practical grounding you need before you commit to a pour. If you're about to start your first custom iron casting project—or your fiftieth—there are a few things worth knowing first.
The First Step in Custom Iron Casting Most People Skip
Ask most buyers what comes first in custom iron casting and they will describe a pattern or a 3D model. That is already too late. The step that gets skipped is sitting down with the foundry to separate casting realities from the finished print: which bores need machining stock, which walls can stay as-cast, and where a slight draft angle will save hours of hand finishing.
Skipping that conversation forces the patternmaker to guess, and a guess in iron casting is expensive. Extra stock means more machining, more weight, and more stress risers after rough cuts. Too little stock means a feature cleans up short and the first casting goes to scrap. Neither one shows up on the customer's drawing, but both show up on the invoice.
The fix is not a bigger tolerance block. It is a marked-up print, line by line, showing what gets machined and what does not. That mark-up takes an hour before tooling starts and can cut pattern rework by half. If a foundry does not ask for it, find one that does.
Gray Iron or Ductile Iron? A Practical Comparison That Actually Helps
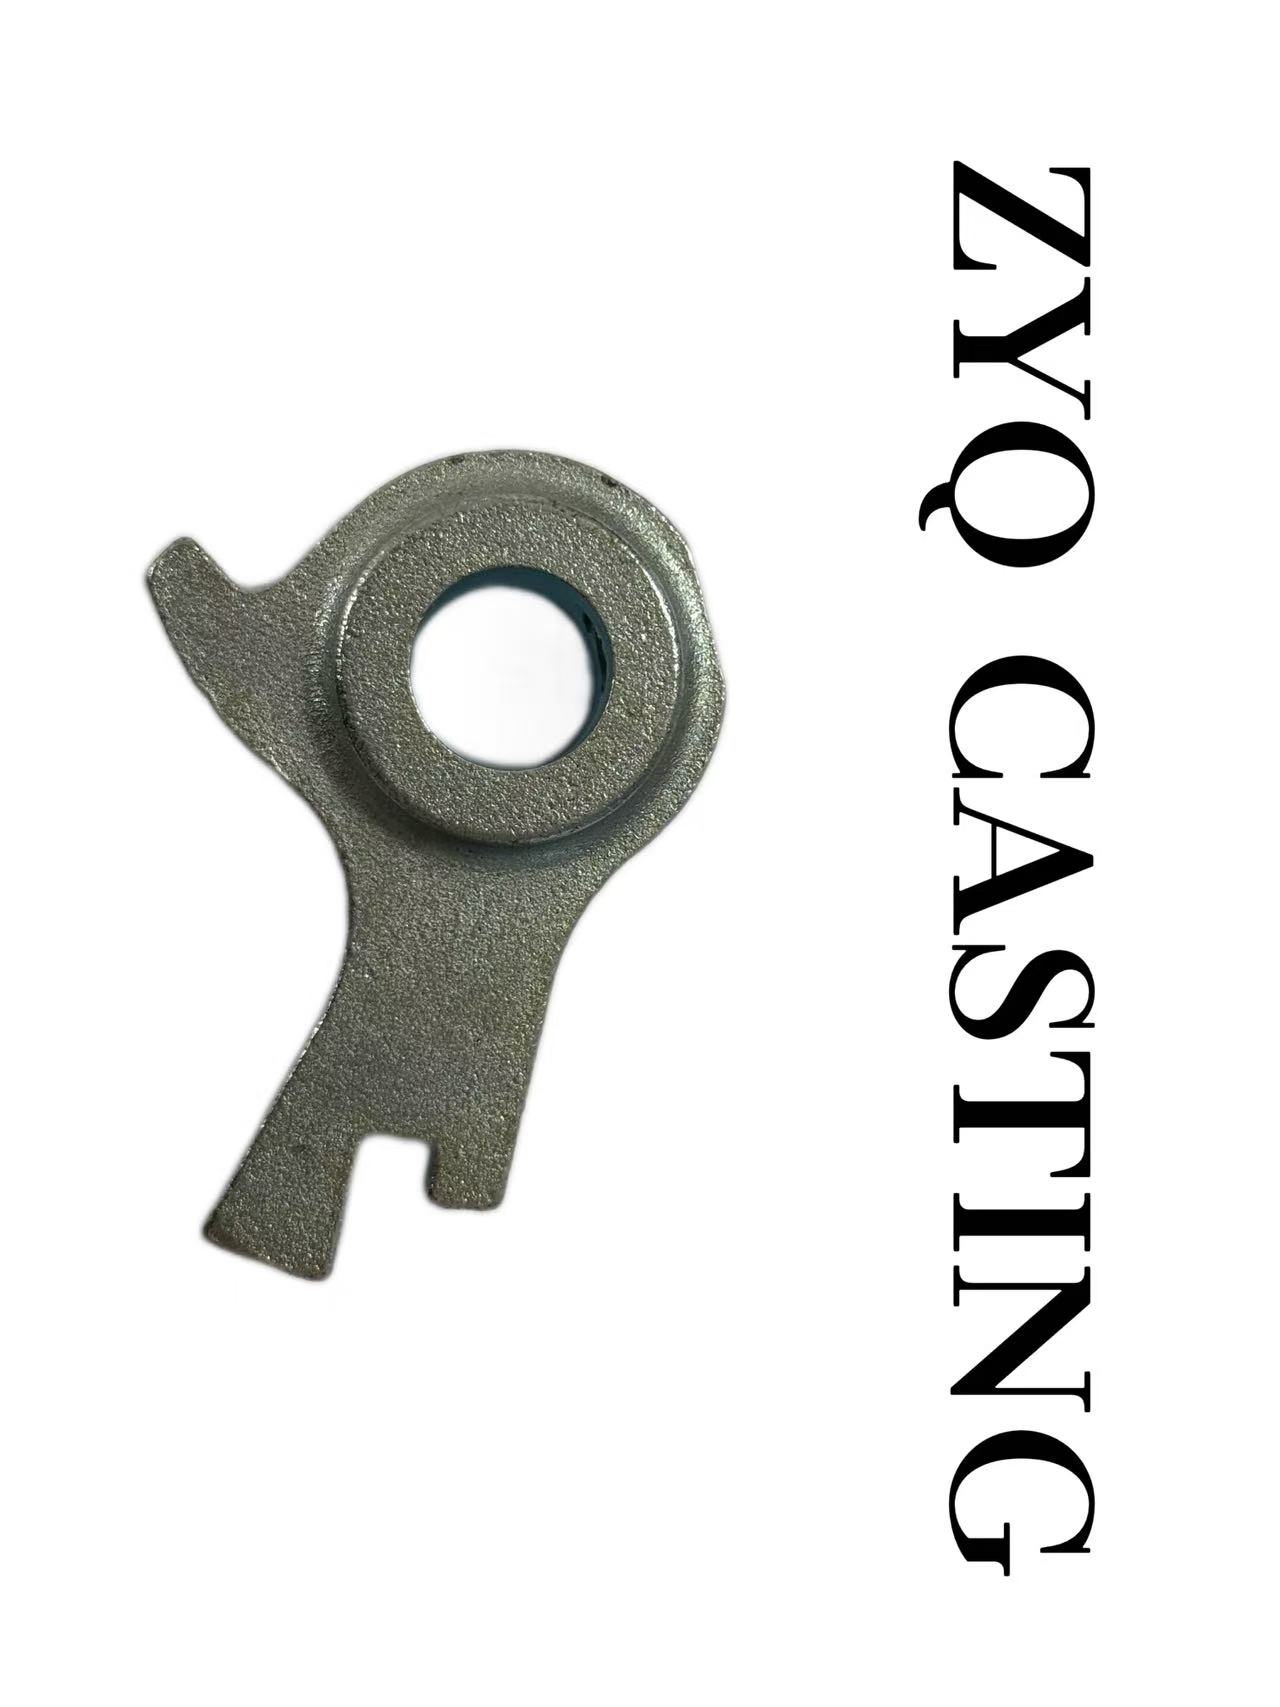
Gray iron and ductile iron often get lumped together because both start with similar base chemistries, but their behavior under stress could not be more different. Gray iron contains graphite in flake form, which acts like tiny internal cracks. That makes it excellent at damping vibration and handling compressive loads, but it snaps with very little elongation. Ductile iron, thanks to a magnesium treatment that turns graphite into spheres, can bend, stretch, and absorb impact energy in ways gray iron simply cannot. If your part needs to survive a drop, a pressure spike, or a twisting force, ductile iron is usually the safer starting point.
Where gray iron shines is in applications that demand stability and heat management. Engine blocks, brake rotors, pump housings, and machine tool bases all benefit from its high thermal conductivity and natural ability to quiet noise. The trade-off is brittleness; designers must accept that gray iron will crack before it yields. Ductile iron offers higher tensile and yield strengths, often approaching steel, which lets it replace cast or forged steel in gears, crankshafts, suspension components, and heavy-duty pipe fittings. The downside is that ductile iron costs more and requires tighter process control during casting.
That cost gap, though, narrows when you account for performance. A ductile iron casting may allow a thinner wall section or eliminate a secondary heat treatment, while gray iron might need extra ribbing or a heavier cross-section to survive the same load. The practical question isn't which material is better in a lab; it's which one matches the failure mode you can tolerate. Choose gray iron when rigidity, damping, and thermal cycling dominate. Choose ductile iron when toughness, fatigue resistance, and some forgiveness under overload matter more.
Understanding Casting Shrinkage and Why It Changes Your Dimensions
When metal transitions from a liquid to a solid inside a mold, it doesn't simply freeze in place. The atoms rearrange into a tighter, more ordered structure, which causes the overall volume to drop. This natural phenomenon, known as casting shrinkage, is the primary reason a finished part rarely matches the exact dimensions of the mold cavity. Even with precise machining allowances, ignoring this volumetric change can lead to parts that are undersized, warped, or riddled with internal voids.
The degree of shrinkage isn't constant across all metals or even all sections of a single casting. Factors like the alloy's chemical composition, pouring temperature, mold material, and cooling rate all influence how much the metal will contract. For instance, aluminum shrinks noticeably more than cast iron, and thick sections cool slower than thin ribs, creating uneven stress and dimensional drift. Foundries compensate by oversizing the pattern or mold, but the exact compensation factor is often a moving target that requires iteration and experience.
Designers who grasp shrinkage early can avoid costly rework and tolerance battles. Instead of treating the mold as a perfect negative of the final part, they treat it as a starting point that must be scaled and adjusted per axis. Thin walls may need extra draft, heavy bosses may need risers to feed molten metal during solidification, and critical dimensions may need localized chills to control cooling order. When shrinkage is planned for rather than discovered later, the result is a casting that holds its shape, meets drawing tolerances, and performs as intended without surprise dimensional drift.
Hidden Costs in Iron Casting Tooling You Should Negotiate Early
Tooling quotes for iron castings rarely tell the whole story. Beyond the obvious pattern and core box charges, you'll often see separate line items for rigging plates, match plates, and loose piece patterns that only surface after the first design review. If you don't pin these down before the PO, the foundry may treat them as change orders later. Ask for a fully itemized tooling BOM that includes gating, riser contact areas, and any replaceable wear inserts, especially if you're using shell cores or high-pressure molding.
Another area that catches buyers off guard is tooling life and modification clauses. Iron pours run hot, and patterns degrade faster when production volumes stretch into the thousands. Negotiate who pays for reconditioning, how dimensional drift will be measured, and what happens if you revise the casting design before the tooling is amortized. Some foundries will agree to free engineering changes during sampling if you commit to a longer-term supply agreement. Lock that in writing, or expect invoices for every adjustment.
Heat Treatment Choices That Can Make or Break Your Part
A part’s final performance is often decided long before it reaches the assembly line—in the heat treatment cycle. Choosing between a quench-and-temper, normalizing, or case hardening isn't a box-ticking exercise. The same alloy can emerge with fine, uniform martensite or a brittle mess of uncontrolled bainite depending on how fast it cools from the austenitizing temperature. If the section thickness varies a lot, a one-size-fits-all cycle can leave thin edges glass-hard while the core stays soft, setting up stress risers that only show up later as fatigue cracks.
One of the most common ways to ruin a good design is to ignore prior machining. Deep cuts and sharp corners concentrate stress during quenching, and without a stress relief step before hardening, those features become crack initiation sites. Over-austenitizing is another silent killer: pushing the temperature too high or holding too long lets grains grow, and coarse grains mean a part that is hard on paper but brittle in practice. Case hardening looks like an easy win for wear surfaces, but selecting it without checking core toughness can leave you with a gear that spalls or bends under load instead of wearing gracefully.
There’s no single “correct” heat treatment that works across all geometries, alloys, and service conditions. A heat treater who reaches for the same recipe for every job is a warning sign. The choice must be tied to the dominant failure mode: abrasive wear calls for a high surface hardness, fatigue favors compressive residual stress and smooth transitions, and impact loading demands enough tempered toughness to deform instead of snapping. If the heat treatment isn't verified with hardness traverse or microstructure checks on an actual part—not just a test coupon—you’re gambling with someone else’s failure analysis.
Red Flags to Watch for When Choosing an Iron Foundry
One of the earliest warning signs is a foundry that hesitates to share detailed process documentation or material certifications. Without transparent heat numbers, chemical composition reports, or sand testing data, you have no way to verify the iron’s integrity before it reaches your shop floor. A reputable partner will walk you through their quality control steps without making you ask twice.
Pay close attention to how they handle surface finish and dimensional tolerance discussions. If a sales rep dismisses your blueprint notes or insists that “standard practice” overrides your specified machining allowances, that’s a problem. Iron castings can hide porosity, shrinkage, or hard spots beneath a decent paint job — so vague answers about defect rates or rework percentages should make you pause.
Finally, check their communication rhythm during the quoting phase. Slow responses, unclear lead time commitments, or sudden changes in the technical contact person often mirror how they’ll behave once a production run hits delays. A foundry that can’t keep its story straight before the purchase order is unlikely to become more reliable after the invoice clears.
FAQ
Gray iron offers better vibration damping and thermal conductivity, which makes it great for engine blocks, housings, and brake components. Ductile iron has higher tensile strength and elongation, so it handles impact and structural loads better. If your part sees sudden shock or needs to bend before breaking, lean ductile; if it just needs to stay rigid and absorb buzz, gray is usually cheaper and easier to machine.
Skipping draft angles and forgetting to compensate for shrinkage. Gray and ductile iron shrink about 1/8 to 3/16 inch per foot as they solidify, so the pattern has to be slightly larger than the final part. Without a few degrees of draft on vertical faces, the mold can tear when the pattern is pulled, and that shows up as rough edges or stuck sand in the casting.
You can sometimes use an existing part, but it's rarely a straight copy. The pattern still needs shrink allowance, machining stock, and clean surfaces. Worn or damaged parts will reproduce those flaws unless you build them up or modify the pattern. In many cases, a new pattern is faster and not much more expensive than trying to salvage an old one.
Most sand cast iron parts land in the 250-500 microinch Ra range. That means you'll see a granular texture, mold parting lines, and maybe small pits. If you need smoother areas, tell the foundry early; they can use finer sand, coatings, or local chills, but those add cost. Don't expect a machined surface straight from the mold.
A practical starting point is 1/8 to 1/4 inch on surfaces that need to be machined. Larger castings or areas with core shifts may need more, while small, well-controlled features can get away with less. Lock down the machining allowance before the pattern is made, because it affects every downstream dimension.
Cores, tight tolerances, handling, and finishing usually matter more than the metal itself. Every additional core box, assembly step, or secondary cleanup operation adds labor. Low quantities also push up unit cost because the pattern and setup charges are spread over fewer parts. Simplifying the geometry and consolidating features often saves more than switching alloys.
Ask for hardness readings on each heat or lot, dimensional inspection against your print, and a visual check for surface defects. For pressure-tight or structural parts, request a microstructure check or pressure testing. If the part is safety-critical, consider magnetic particle or ultrasonic testing. A good foundry will provide a material cert and inspection report without you having to beg for it.
A simple pattern might be ready in two to four weeks, with first castings a couple weeks after that. More complex tooling with multiple cores can push the timeline to eight or ten weeks. If you need machined first articles, add another one to two weeks. The biggest schedule killers are design changes after tooling starts, so freeze the print early.
Conclusion
Most custom iron casting projects stumble before the first pattern is cut because the alloy decision gets reduced to price per kilogram. Gray iron and ductile iron are not interchangeable—gray iron damps vibration and machines easily but will crack under sharp impact, while ductile iron bends and carries higher tensile loads. The step people skip is mapping the actual load path, including fatigue cycles and temperature swings. Once you know whether the part sees bending, shock, or constant chatter, the choice becomes obvious. Shrinkage is the other early trap. Iron contracts as it solidifies, but not uniformly: a thick boss pulls differently than a thin rib, so a generic 1% allowance leaves you with sinks, warped flanges, or hidden voids. Pattern makers need section-by-section feeding data, not a rule of thumb.
Tooling costs hide in core boxes, pattern material, and engineering revisions after the first sample. Ask upfront who owns the tooling if you move foundries, what the expected shot life is, and what a design change will cost. Heat treatment is not a finishing touch—annealing, normalizing, or austempering shifts hardness, machinability, and residual stress enough to ruin a part that looked fine as-cast. When vetting a foundry, skip the glossy brochure and ask for their scrap rate on similar geometries, how they handle first article inspection, and whether they can share shrinkage data from previous jobs. A foundry that gives you numbers instead of promises is the one that will save you from midnight rework calls.
Contact Us
Contact Person: Nico Yin
Email: [email protected]
Tel/WhatsApp: 8618561567088
Website: https://www.ductileironparts.com/
